
Design
Plan the robot mission, measure components, and design functional 3D-printed upgrades.
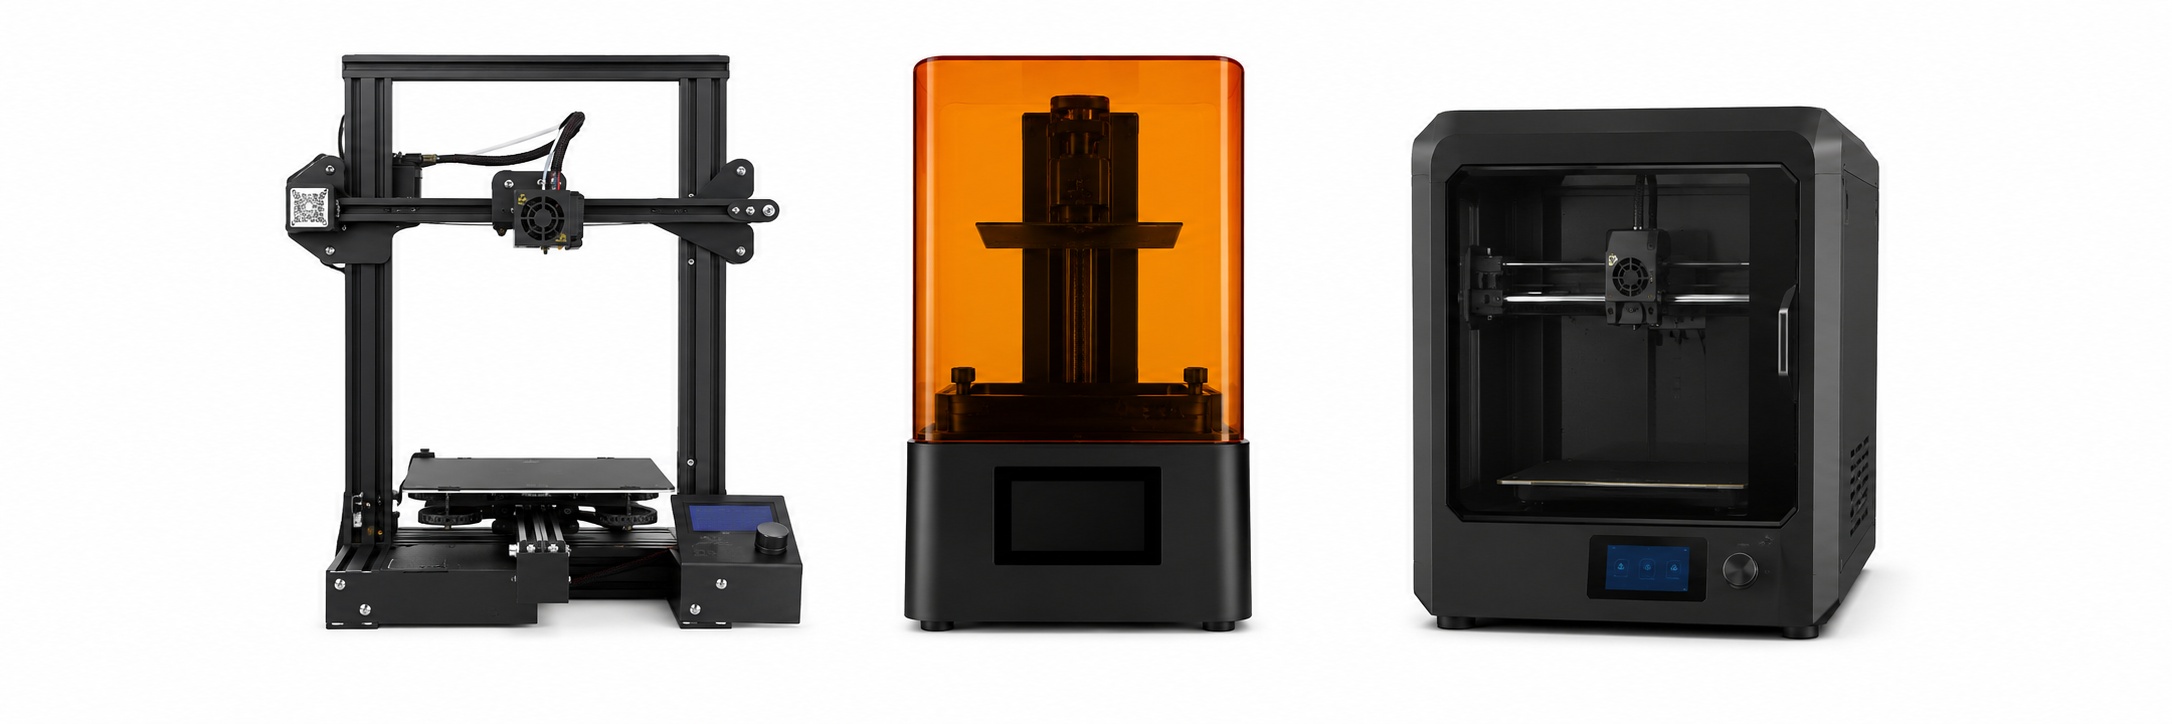
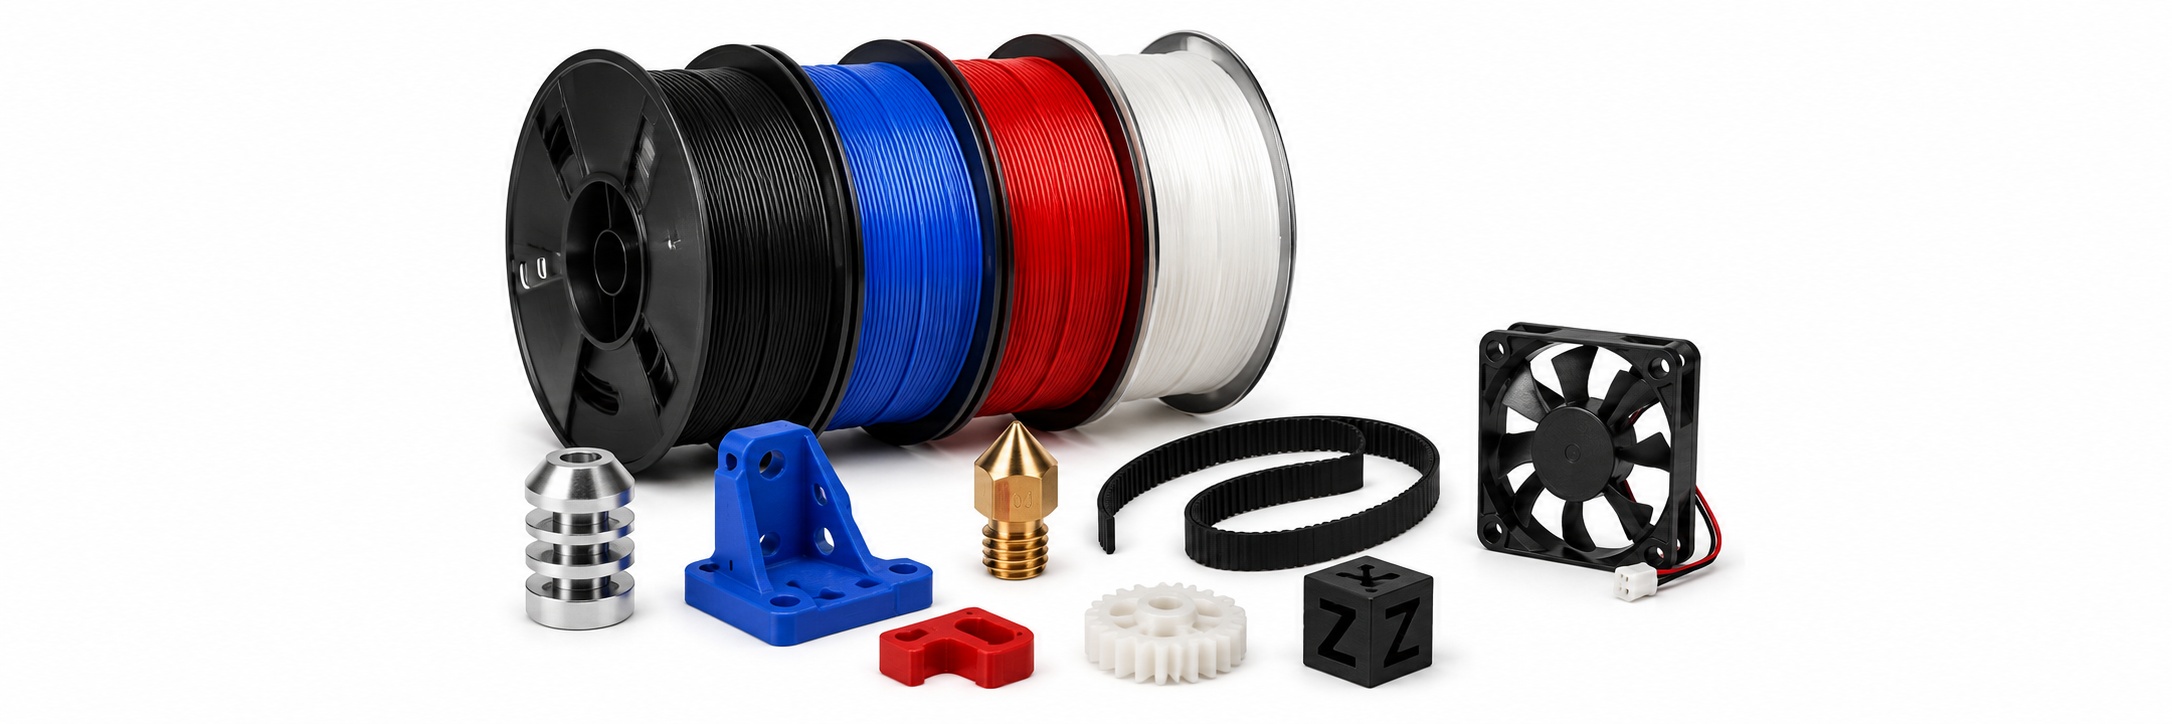
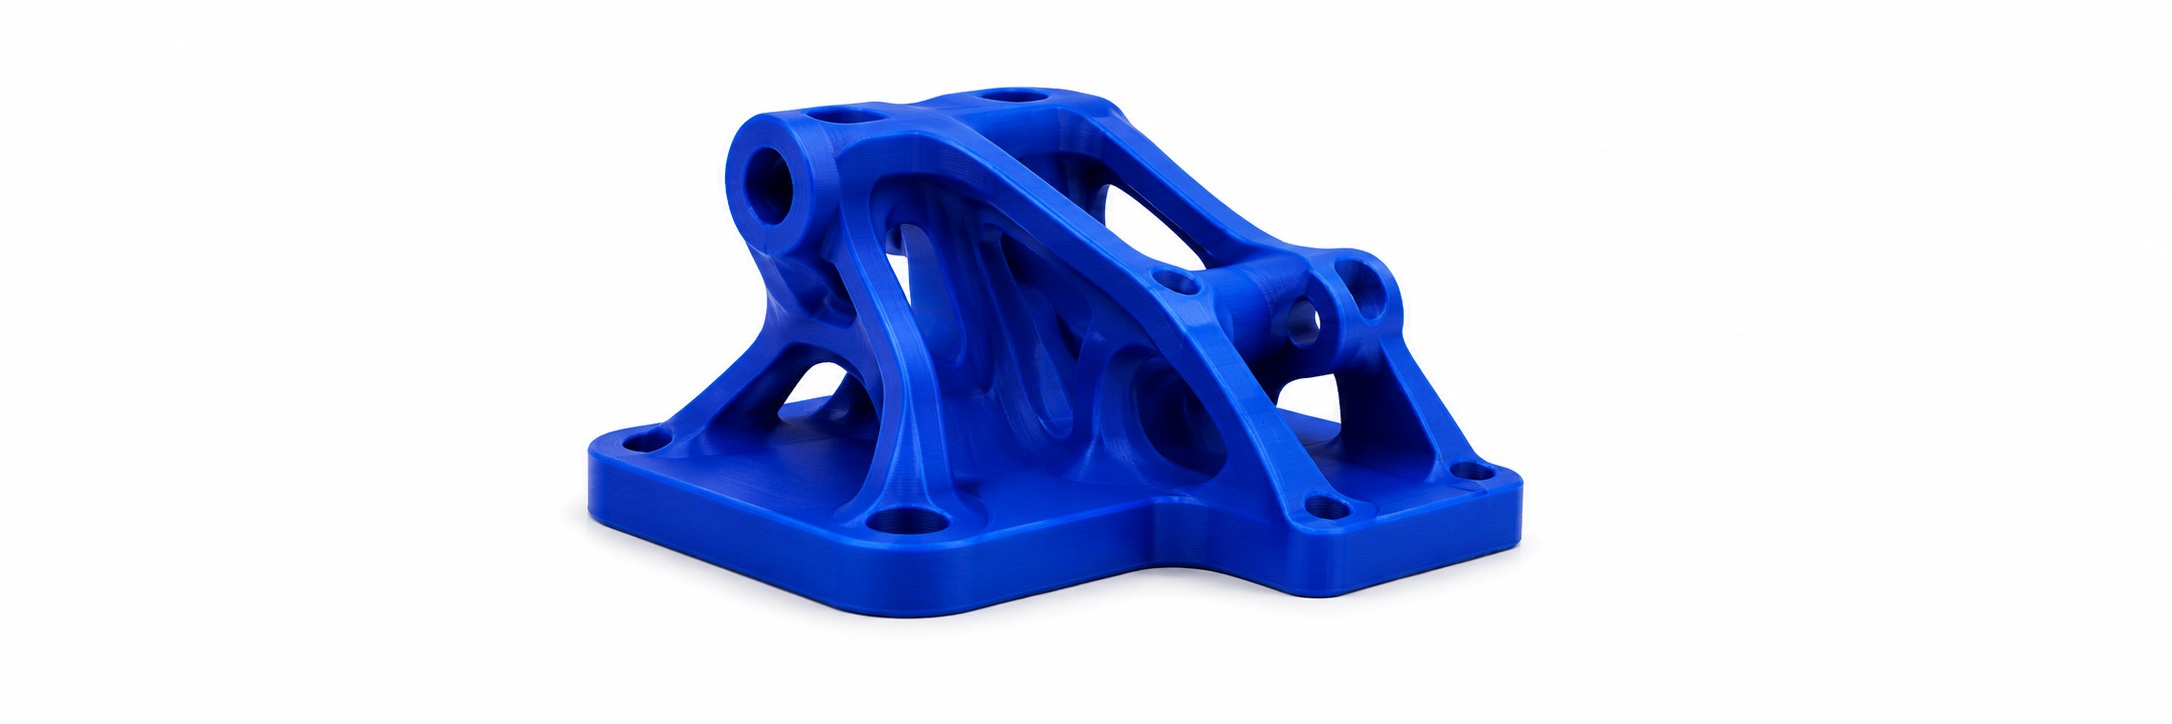

Students combine 3D design, printing, mechanical assembly, electronics, sensors, and coding to build a working smart robot and complete real engineering challenges.
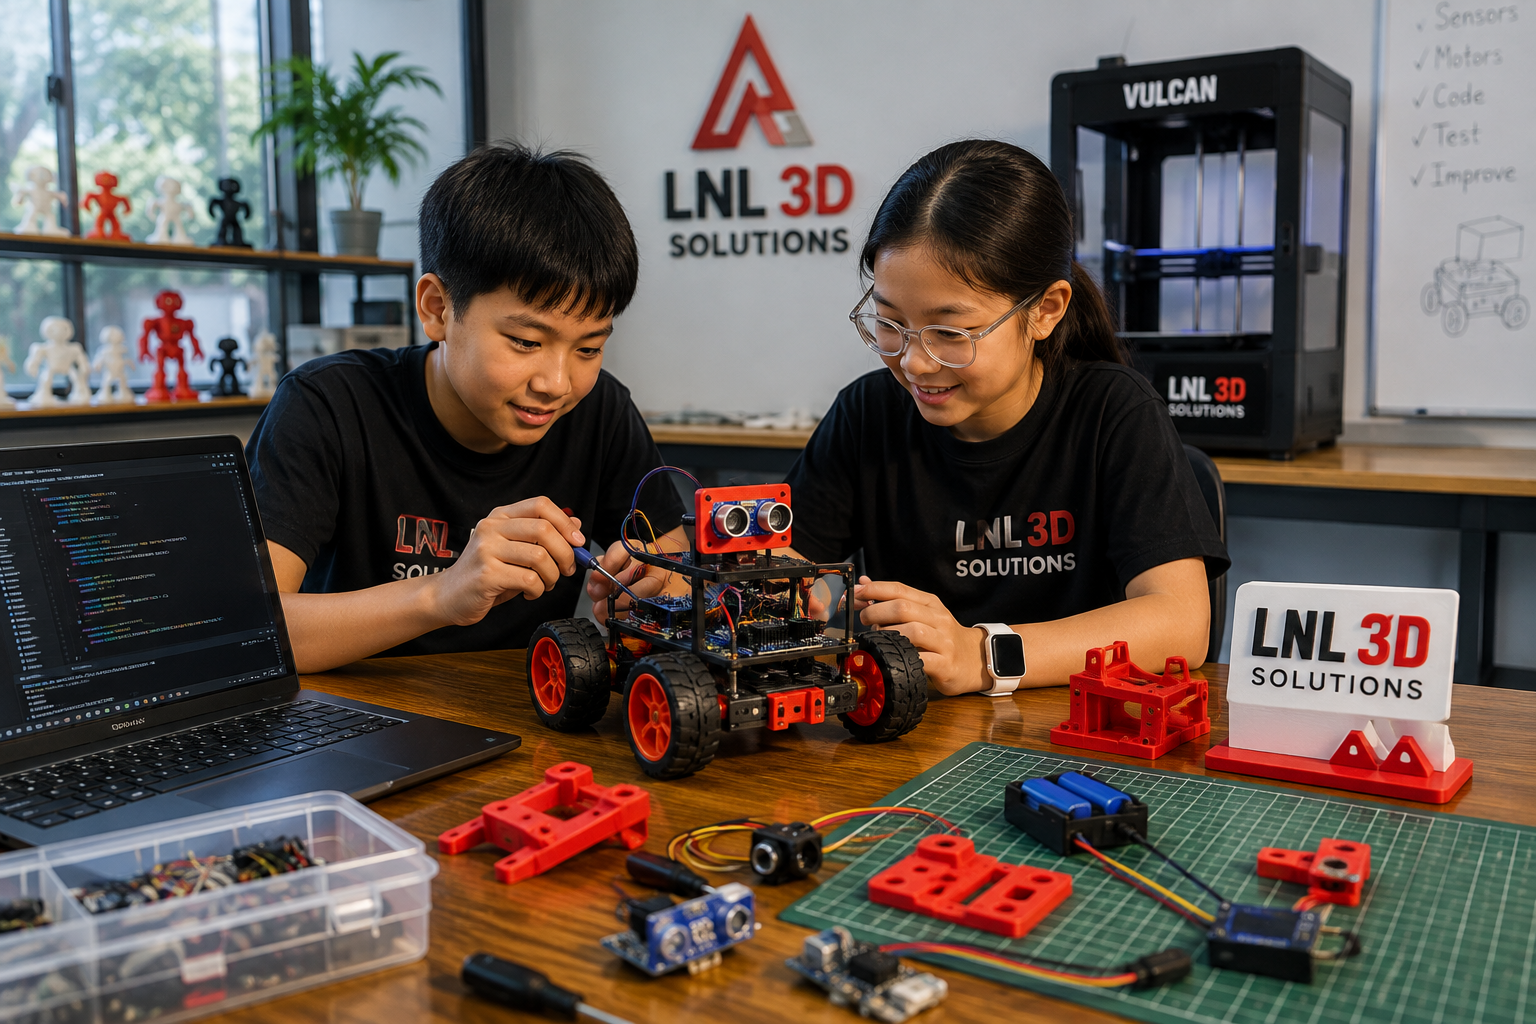
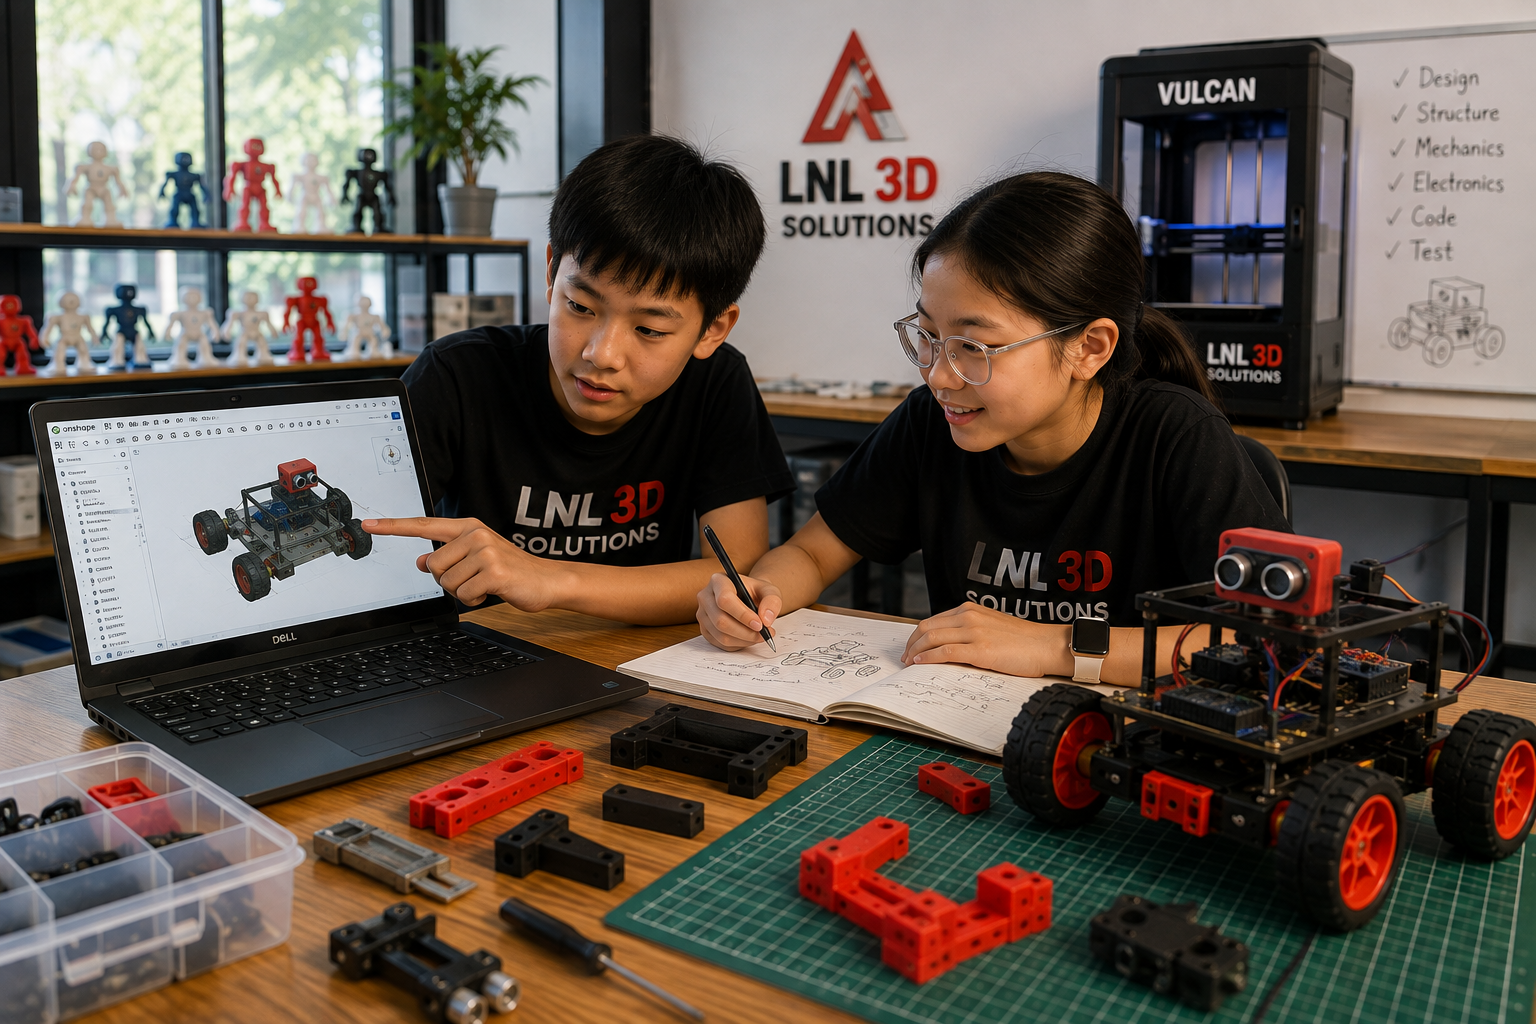
Plan the robot mission, measure components, and design functional 3D-printed upgrades.
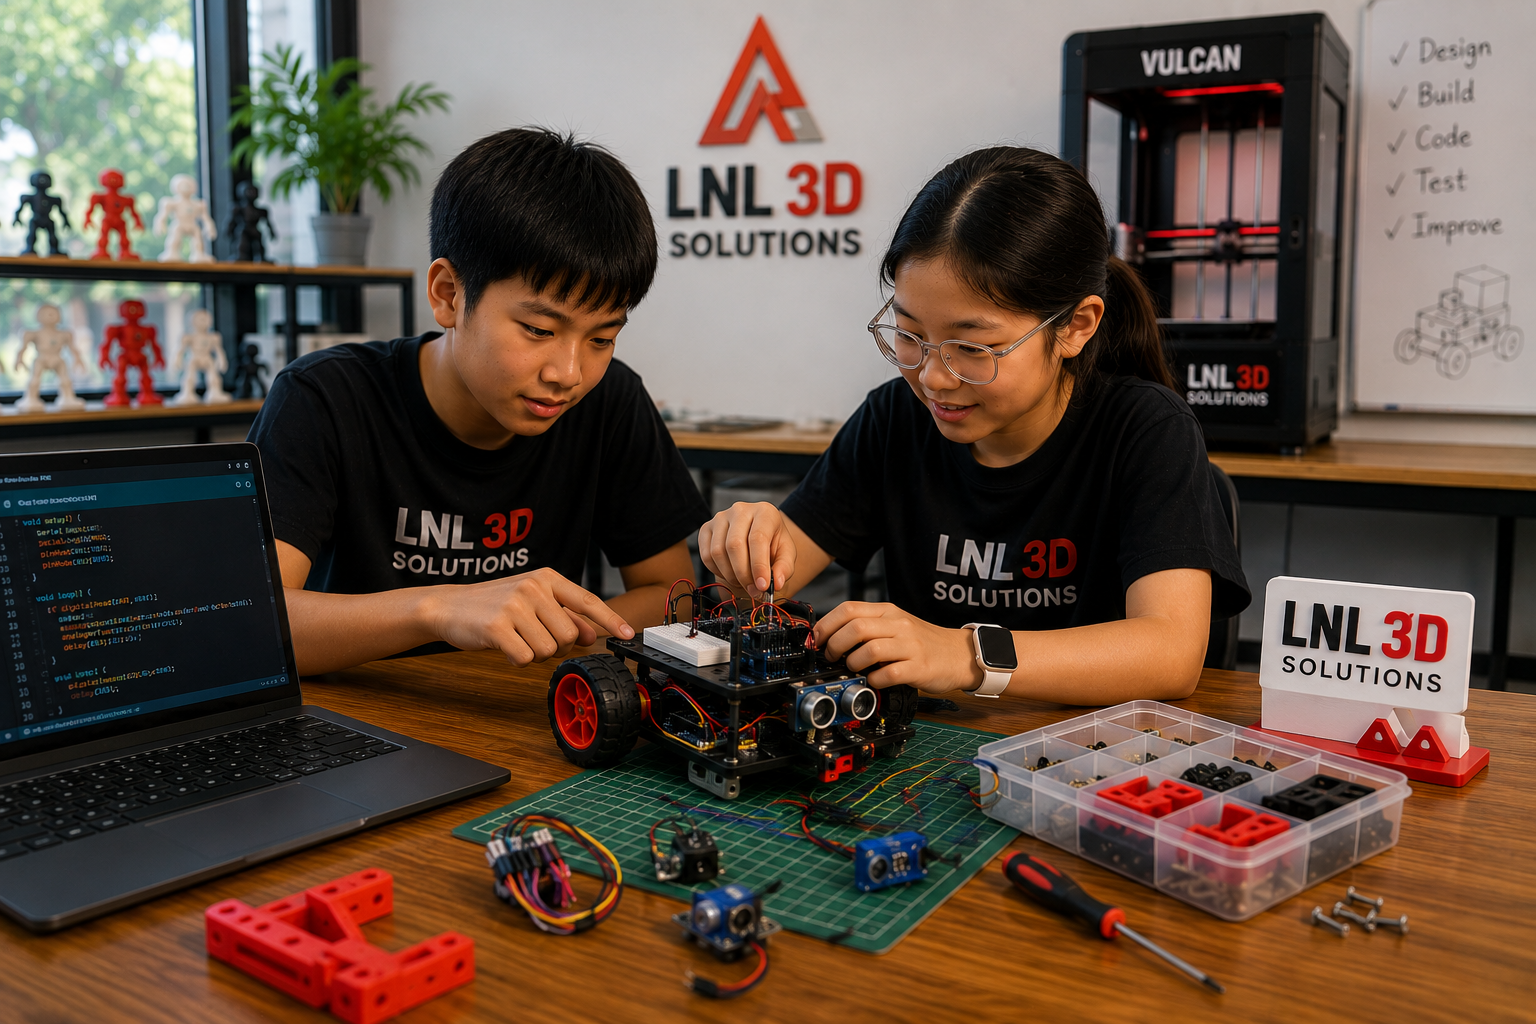
Assemble the chassis, motors, controller, sensors, wiring, and custom printed parts.
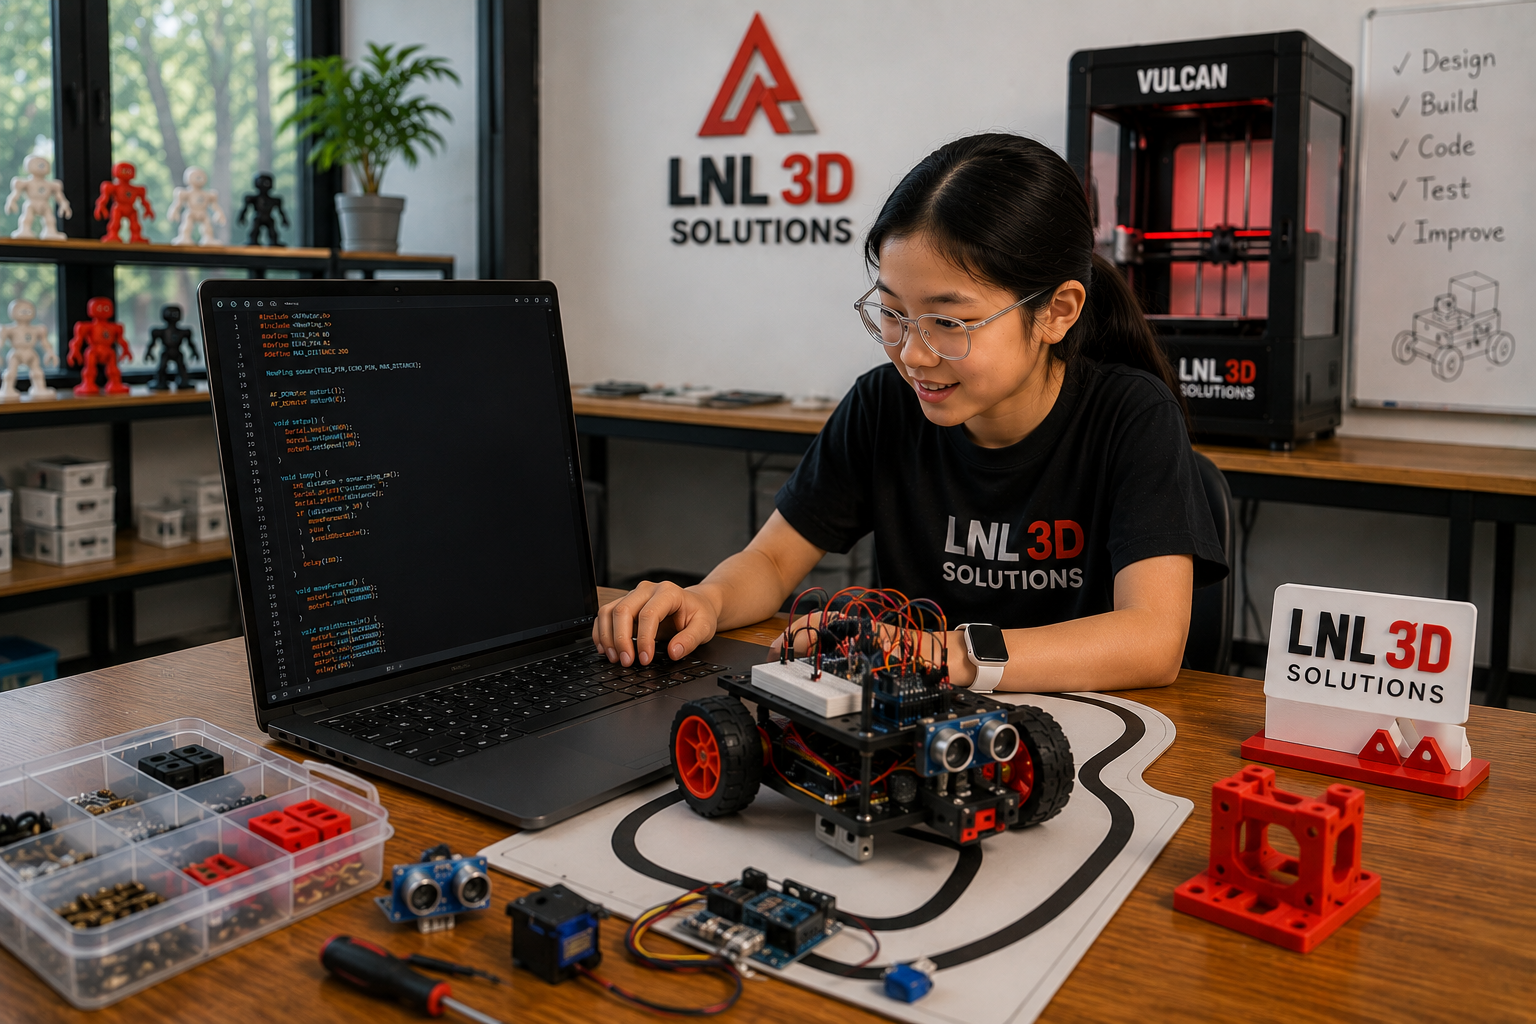
Program movement, sensors, conditions and mission logic, then test and improve the robot.
Understand chassis, motors, controller, power and core robot components
Design and print bumpers, brackets, sensor mounts and custom upgrades
Connect and use ultrasonic, line and other sensors with motors and electronics
Program movement, speed, turns, sensor input, conditions and loops
Test, troubleshoot and improve the robot for obstacle, line or sumo missions
Students complete a full engineering cycle: define a mission, design parts, 3D print, assemble, wire, code, test and improve.
Choose a session that works best for your student.
Students progress from basic robot hardware and movement to CAD, 3D-printed upgrades, sensors, coding, troubleshooting and autonomous challenges.
Identify the controller, motor driver, motors, wheels, chassis, battery system and core hardware.
Measure real components and design functional bumpers, brackets, mounts, guards and body upgrades.
Prepare, slice, print, install and evaluate functional robot parts using PLA or PETG.
Connect power, motors, sensors and control boards safely and systematically.
Learn sequence, variables, conditions, loops, functions and robot movement logic.
Read sensor values and make the robot react to obstacles, lines and mission conditions.
Diagnose mechanical, wiring, power, sensor and software problems through structured testing.
Integrate design, printing, electronics and code into a final robot mission and presentation.
Robotics + Coding is designed for students who want to turn imagination into three-dimensional characters, objects, and creative projects.
Previous robotics experience is not required. Students learn the equipment, assembly, CAD, printing and programming step by step.
Each stage adds another layer of engineering until students can integrate hardware, 3D-printed parts, sensors and code into a working robot.
Choose a challenge, identify components, assemble the chassis and make the robot move.
Use CAD to create functional robot upgrades, then slice, print, install and test-fit the parts.
Program movement and read sensor values using sequences, variables, conditions, loops and functions.
Combine mechanical design, electronics, sensors and code for obstacle, line-following or pushing challenges.
Troubleshoot, refine CAD, reprint parts, tune code and complete a final demo or robot challenge.
By the end of the course, students should understand robot hardware, design and print functional upgrades, connect sensors and electronics, modify robot code, troubleshoot problems, and complete a working robot challenge.
No. The course supports beginners through intermediate students and introduces assembly, CAD, printing, sensors and programming step by step.
Students work with an Arduino-compatible wheeled smart robot and add custom 3D-printed parts, sensors and mission-specific upgrades.
Students program robot movement, speed, turns, sensor input, conditions, loops and mission behavior using age-appropriate coding tools.
Possible missions include obstacle avoidance, line following or maze navigation, and sumo or object-pushing challenges.
Yes. Students measure the robot, design functional upgrades, print them, test the fit and improve the design based on real performance.
Give your student a complete hands-on STEM experience that combines engineering design, 3D printing, electronics, robotics and coding.
View Available Sessions Register Now